C16 Assembly
01
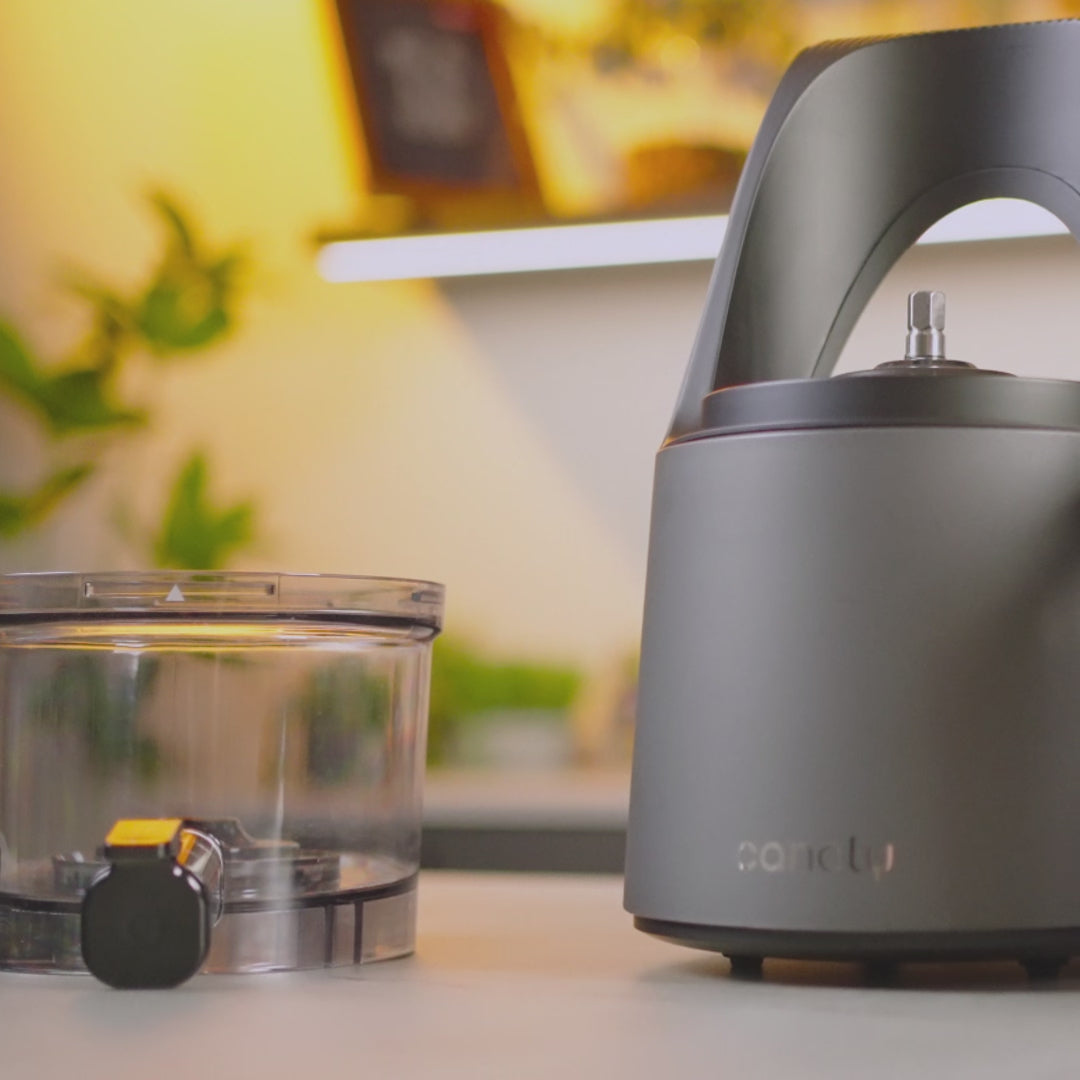
FAMILIARIZE YOURSELF WITH THE PARTS
Inside the box, you’ll find the instruction manual. Now that you’re familiar with the parts and their functions, you can proceed to assemble your C16 juicer.
02
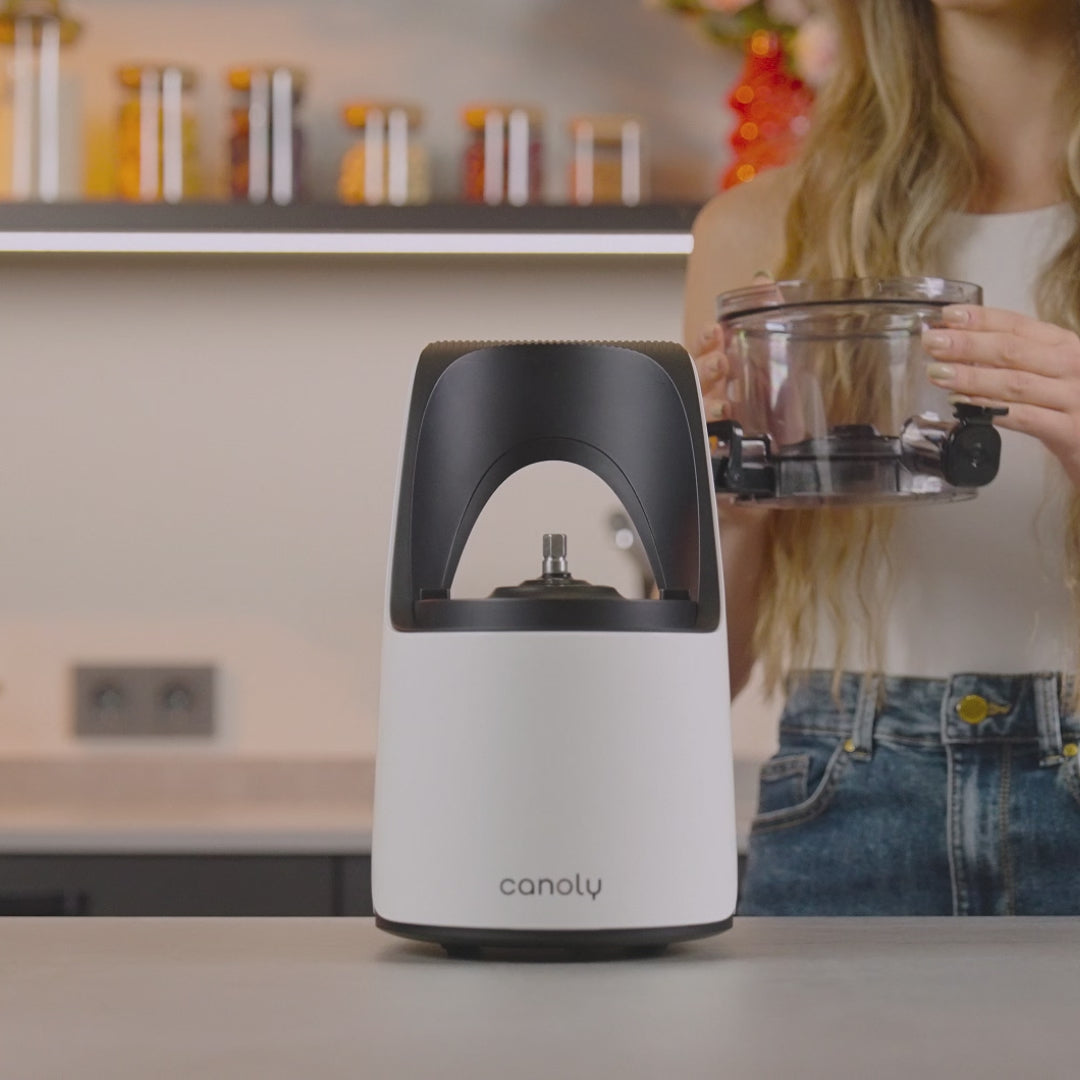
ASSEMBLE THE BOWL ON THE BASE
First, align the bowl's rubber gasket with the pulp outlet and press firmly to ensure a secure fit. Then, place the bowl onto the base.
03
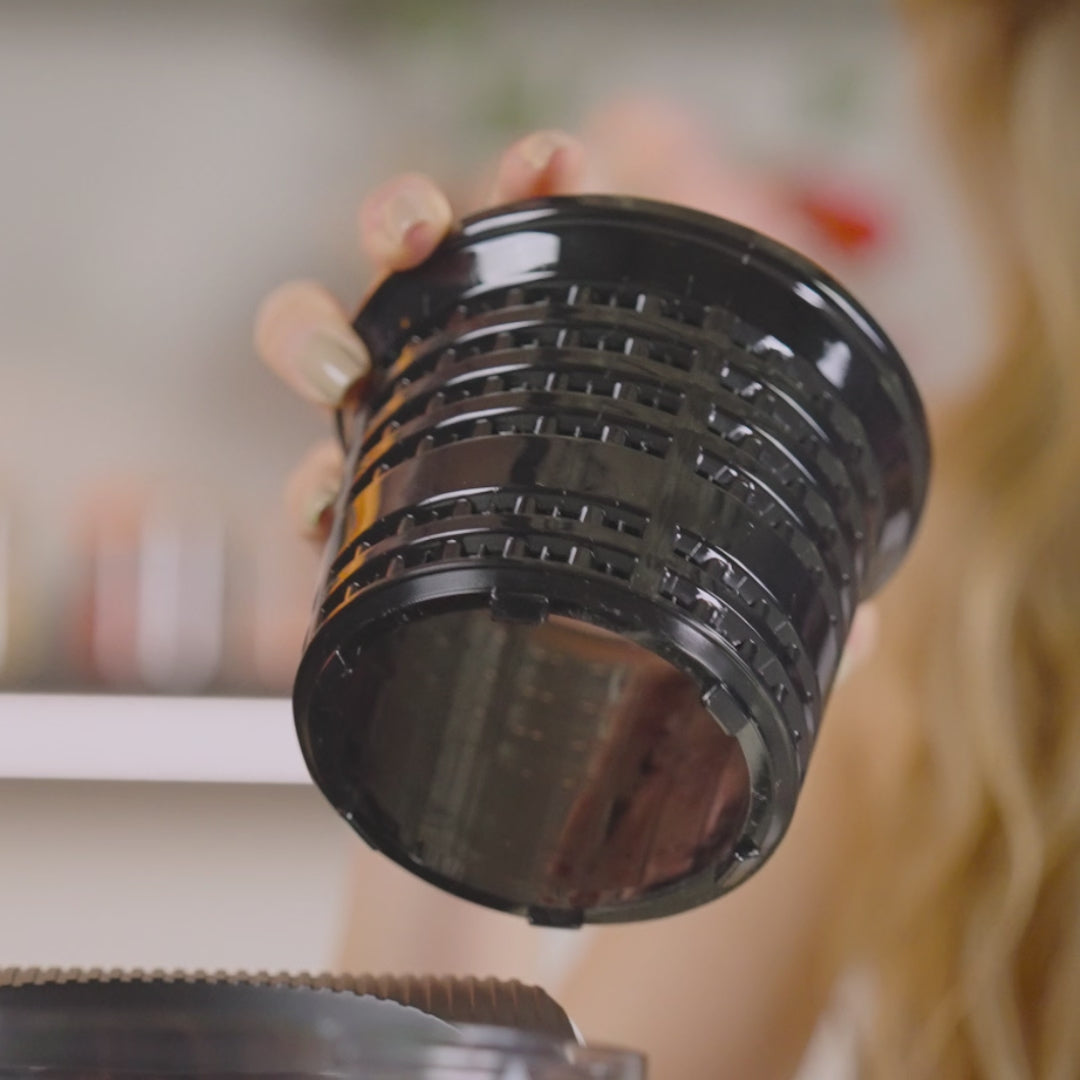
INSTALL THE STRAINER AND SQUEEZE SCREW
Position the strainer into the bowl. Its innovative design allows 360° free rotation for easy placement. Once seated, press the squeeze screw firmly into the strainer until fully locked to ensure proper juicing operation.

04
ASSEMBLING THE HOPPER
Place the hopper onto the bowl by aligning the guide mark on the hopper with the unlock mark on the bowl. Then, rotate the hopper clockwise until the guide mark lines up with the locking mark.
05
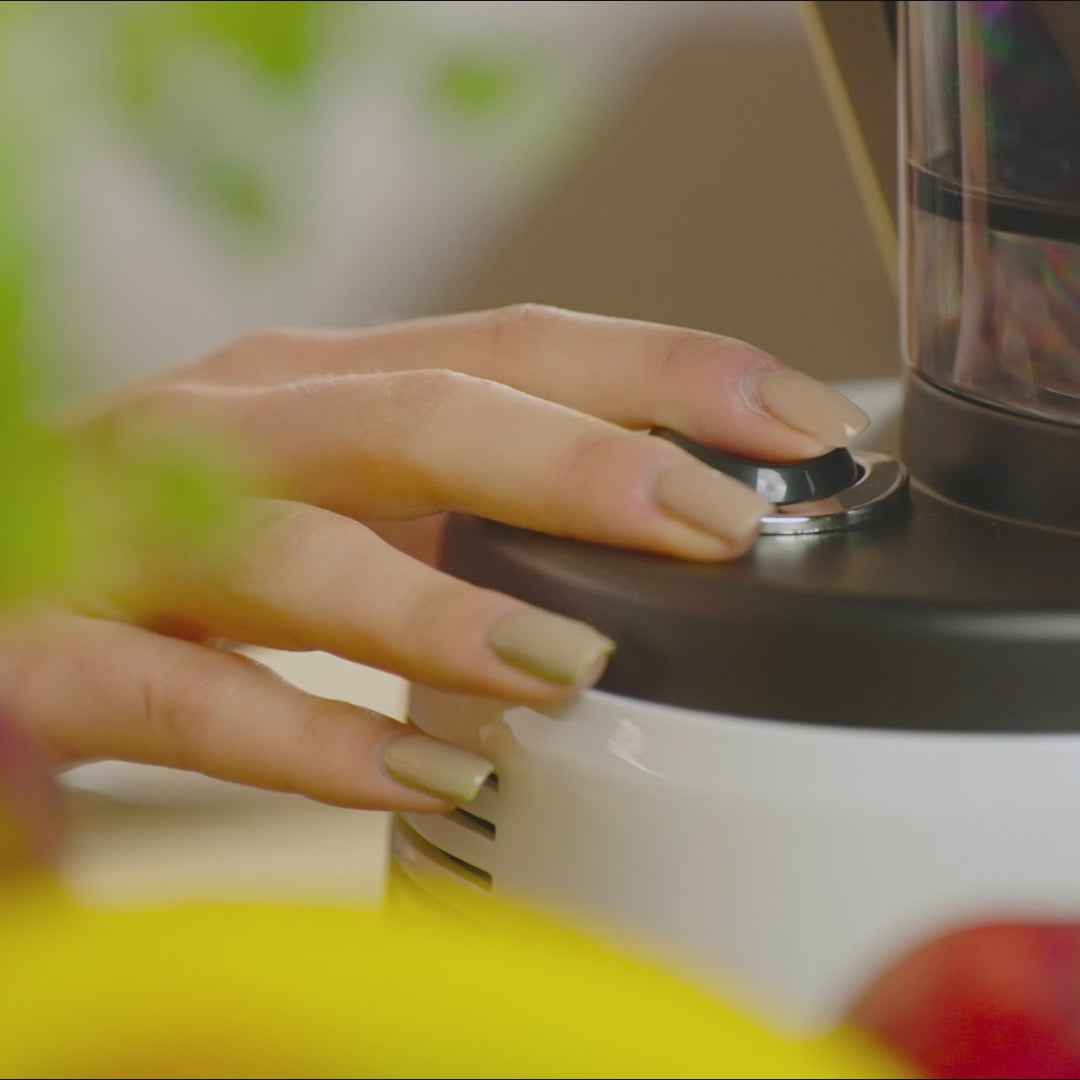
TURN ON YOUR JUICER
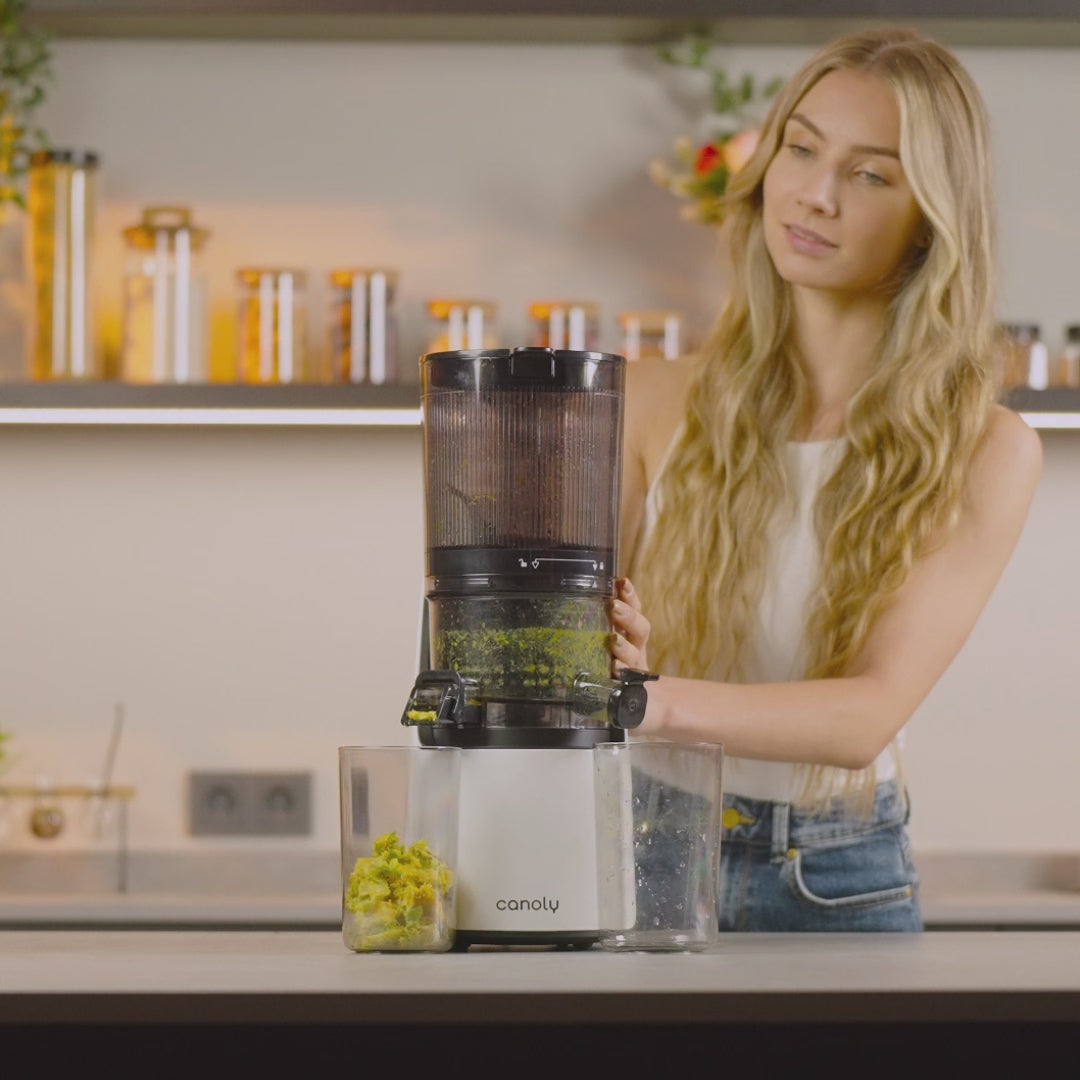
When you press the “ON” button, it's normal to hear a click as the juicer locks into position. The motor will then start automatically, and you can begin juicing right away. Once ingredients are in place, the juicer takes care of the rest — leaving you free to enjoy your morning or prep for the day ahead as it works through each batch with quiet precision.
Note: If the juicer does not turn on, please check that the chamber set is assembled correctly and the guide-mark is in the LOCKED position, and make sure that the hopper lid is closed.
06
CLEANING MADE SIMPLE
When you're finished juicing, simply disassemble each component and open the pulp outlet. A quick rinse under running water is all it takes, leaving every part spotless with minimal effort.

