C09 Assembly
01
FIND YOUR PRINTED MATERIALS
Inside the box, you'll find printed materials including the instruction manual and recipe book. Now that you're familiar with all the parts and their functions, you can assemble your juicer.

02
ASSEMBLE THE BOWL ON THE BASE
First, align the bowl's rubber gasket with the pulp outlet and press firmly to ensure a secure fit. Then, place the bowl onto the base.

03
PLACE THE STRAINER INTO THE BOWL
Locate the white triangle mark on the filter and align it with the triangle mark on the bowl. Once aligned, the strainer is ready to be installed in place.

04
INSERT THE SQUEEZE SCREW INTO THE FILTER
Securely press the screw into the strainer until fully seated. If not tightened properly, the strainer may not function correctly during juicing.

05
ASSEMBLING THE HOPPER
Place the hopper onto the bowl by aligning the guide mark on the hopper with the unlock mark on the bowl. Then, rotate the hopper clockwise until the guide mark lines up with the locking mark.
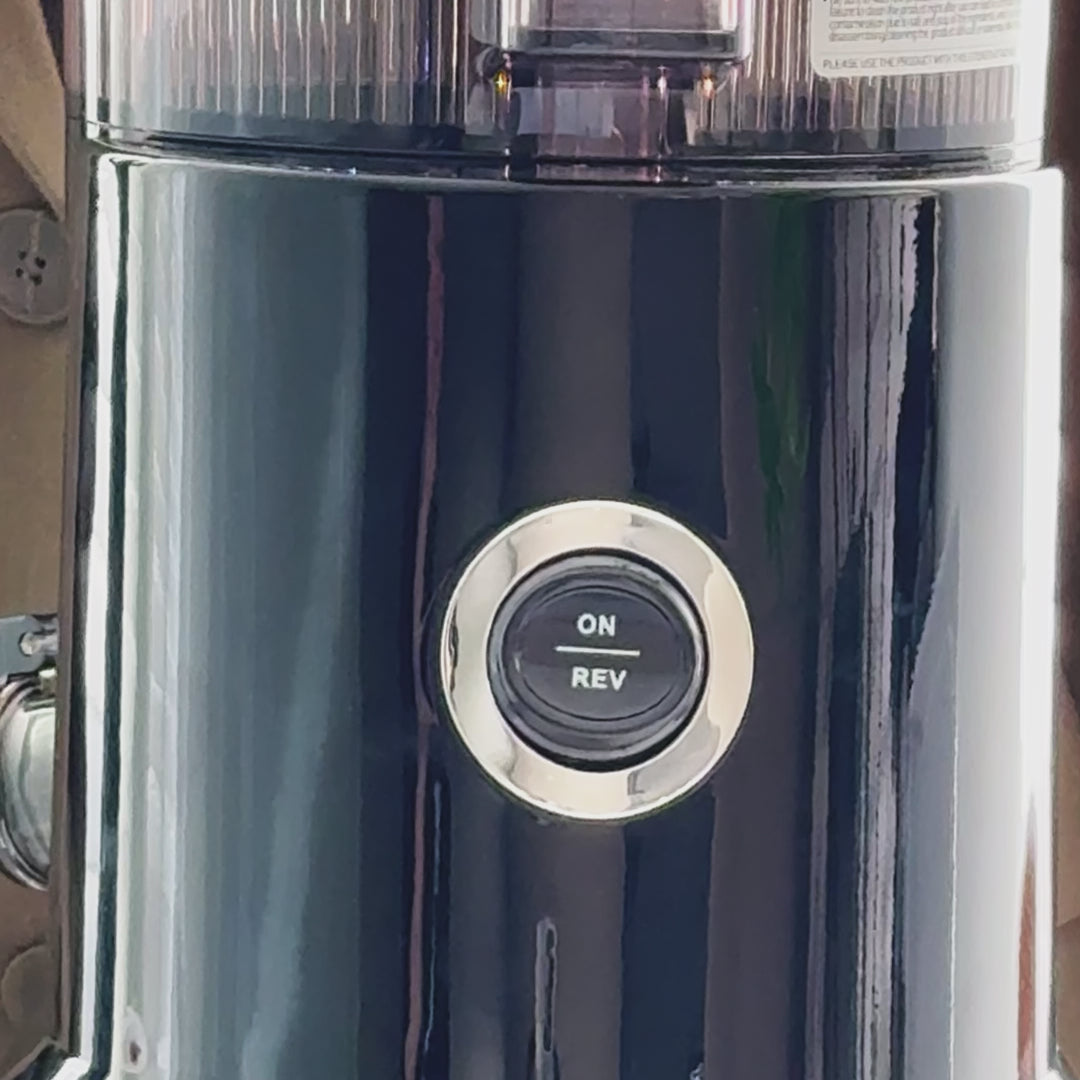
06
TURN ON YOUR JUICER
When you press the “ON” button, it's normal to hear a click as the juicer locks into position. The motor will then start automatically, and you can begin juicing right away.
Note: If the juicer does not turn on, please check that the chamber set is assembled correctly and the guide-mark is in the LOCKED position, and make sure that the hopper lid is closed.
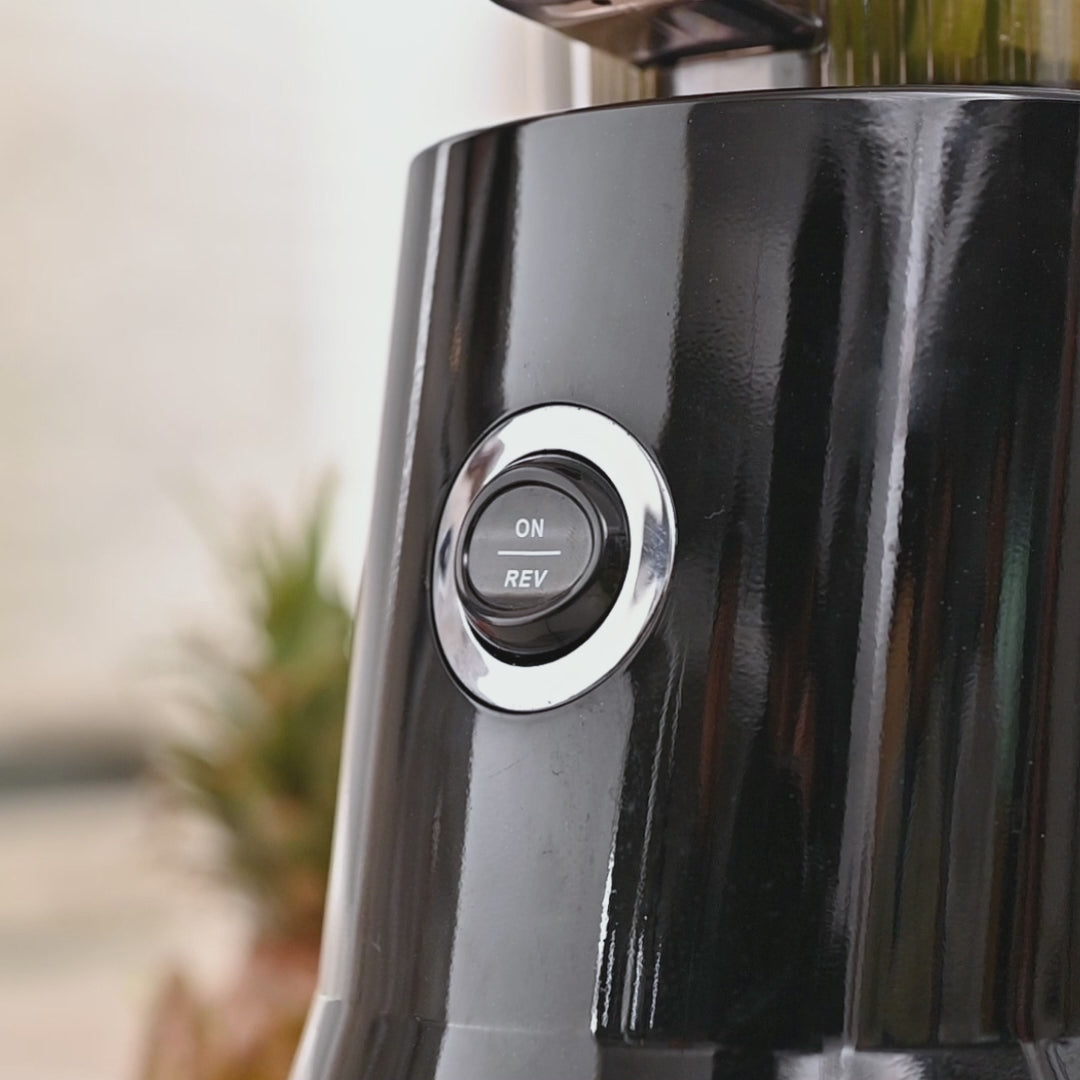
07
REVERSE AND CLEAN
If the juicer stops due to jamming, press and hold the “REV” button.
You can also press and hold the “REV” button for 5-10 seconds after juicing is complete to make it easier to remove the juicing chamber.